Ever struggle with a WiFi signal that’s as reliable as a cat on a treadmill? If you’ve found yourself drooling over the prospect of uninterrupted streaming, gaming, or browsing from every corner of your home, you’re not alone. Enter the AC750 WiFi Range Extender, your new best friend in conquering dead zones and maximizing your connectivity. In this guide, you’ll jump into everything you need to know for a seamless setup. Get ready to wave goodbye to your buffering woes and say hello to a stronger, more reliable connection.
AC750 WiFi Range Extender Setup

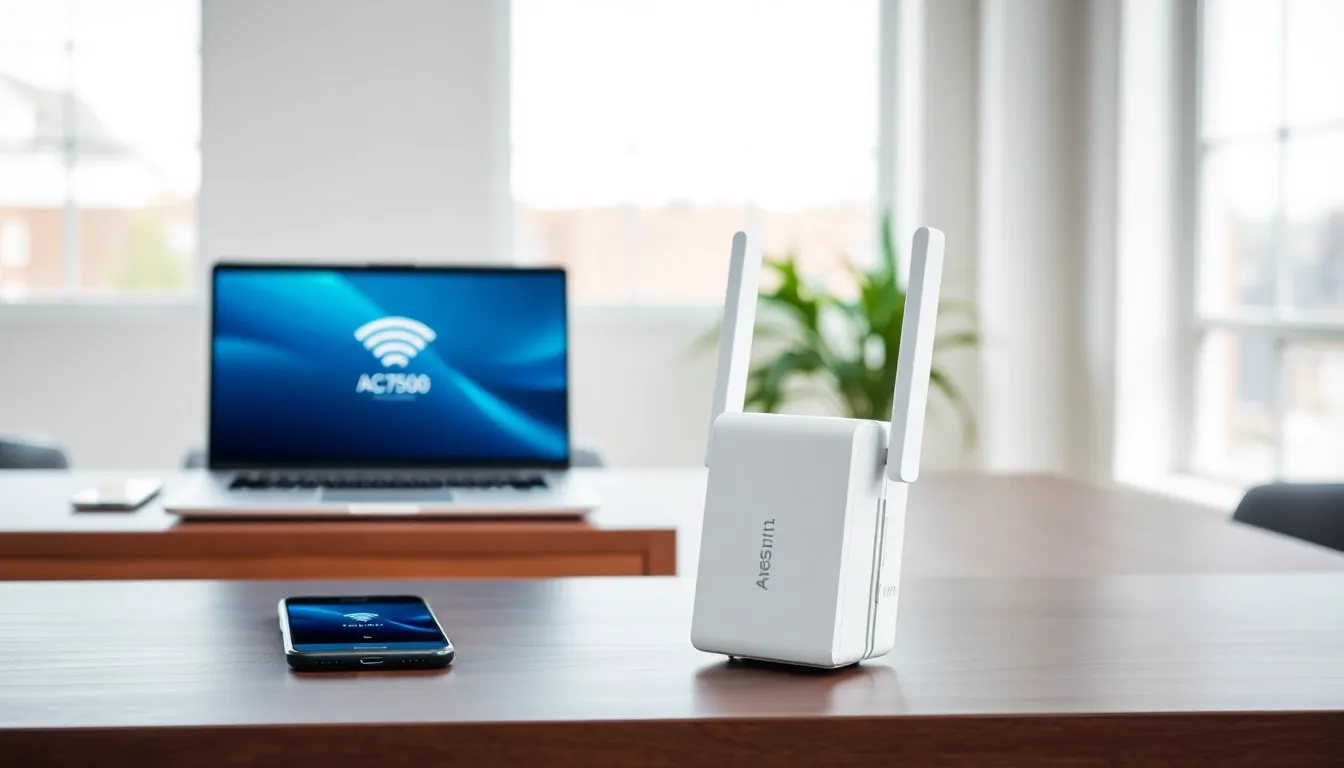
Key Features of the AC750 WiFi Range Extender
The AC750 WiFi Range Extender is more than just a device: it’s a lifeline for anyone plagued by poor connectivity. With dual-band technology, it offers combined speeds of up to 750 Mbps, allowing for efficient performance for streaming and gaming. This extender also comes equipped with multiple antennas that enhance signal strength, ensuring that you have coverage where it matters most. Plus, its compact design makes it easy to tuck away without sacrificing style.
Benefits of Using a WiFi Range Extender
Think of a WiFi extender as your personal connectivity superhero. It eliminates the pesky dead zones in your home, pushing your signal to the farthest corners. You can finally enjoy uninterrupted streaming on your patio, or tackle those work-from-home tasks from any room. With an efficient extender in place, multiple devices can connect seamlessly without sacrificing speed. This means smoother video calls, faster downloads, and generally happier internet surfing for everyone.
Preparing for the Setup Process
Gathering Required Materials
Before diving into the setup, it’s crucial to gather a few items. You’ll need your AC750 WiFi Range Extender, a WiFi-enabled device such as a laptop or smartphone, and, of course, the original WiFi network name and password. Having these essentials on hand will streamline your process and eliminate potential headaches.
Checking Your WiFi Network Compatibility
Not all devices play well together. Ensuring your existing WiFi network is compatible with the AC750 is vital. Ideally, it should be a WiFi standard of 802.11 b/g/n. If you aren’t sure what that even means, don’t worry. You can usually find this information on your router’s specifications. Just a quick glance to confirm compatibility can save you from the frustrations of an incompatible setup.
Physical Setup of the AC750 WiFi Range Extender
Plugging In the Extender
Once you have all your materials ready, it’s time to plug in the extender. Find a spot between your router and the area lacking a solid signal. Ideally, you want it within range of your existing WiFi signal for optimal performance. Upon plugging in, look for an indicator light. If it’s steady, you’re good to go. If it’s blinking, give it a moment to fully boot up.
Connecting to Your Existing WiFi Network
Now, let’s connect the extender to your existing network. Use your WiFi-enabled device to look for the extender’s network name. Once located, select it and enter your network password. Once connected, the extender will broadcast your WiFi signal to hard-to-reach places, expanding your internet coverage significantly.
Setting Up the AC750 Range Extender Using the WPS Method
One of the easiest ways to set up your AC750 is using the WPS (WiFi Protected Setup) method. If your router supports WPS, simply press the WPS button on your router and then press the WPS button on your extender within two minutes. Voila. Your devices should connect effortlessly. Consider this the lazy person’s guide to connectivity, saving you a bit of time while ensuring a secure setup.
Using the Web Interface for Extended Configuration
Adjusting the Settings for Optimal Performance
For those who like to investigate a bit deeper, the web interface offers comprehensive control over your extender’s settings. Open a web browser and enter the extender’s IP address (usually found in the user manual). From here, you can adjust settings like network name, security options, and even the frequency band (2.4 GHz or 5 GHz). Tailoring these settings can maximize coverage and speed, making your internet experience even more enjoyable.
Testing the Connection and Coverage Area
Once you’ve got everything set up, it’s time for the exciting part, testing. Grab your laptop or smartphone and take it to the farthest corner of your home where the signal used to falter. Run a speed test to ascertain the improvements. If your internet speed has soared and dead zones have vanished, congratulations. You’re now enjoying the fruits of your labor. If there are still issues, you may need to adjust the extenders’ placement for better results.
Common Issues and Troubleshooting Tips
Even the best technology can run into hiccups. One common issue people face is connectivity drops. If this occurs, ensure that the extender is placed correctly, too far from the router can cause signal loss. Another frequent concern is slow speeds. If your speed doesn’t seem optimal, try resetting the extender to factory settings and reconfiguring. Occasionally, interference from other electronics can cause issues, try moving the extender away from microwaves or cordless phones. And don’t forget to reboot your router and extender now and then for a refreshing connection.