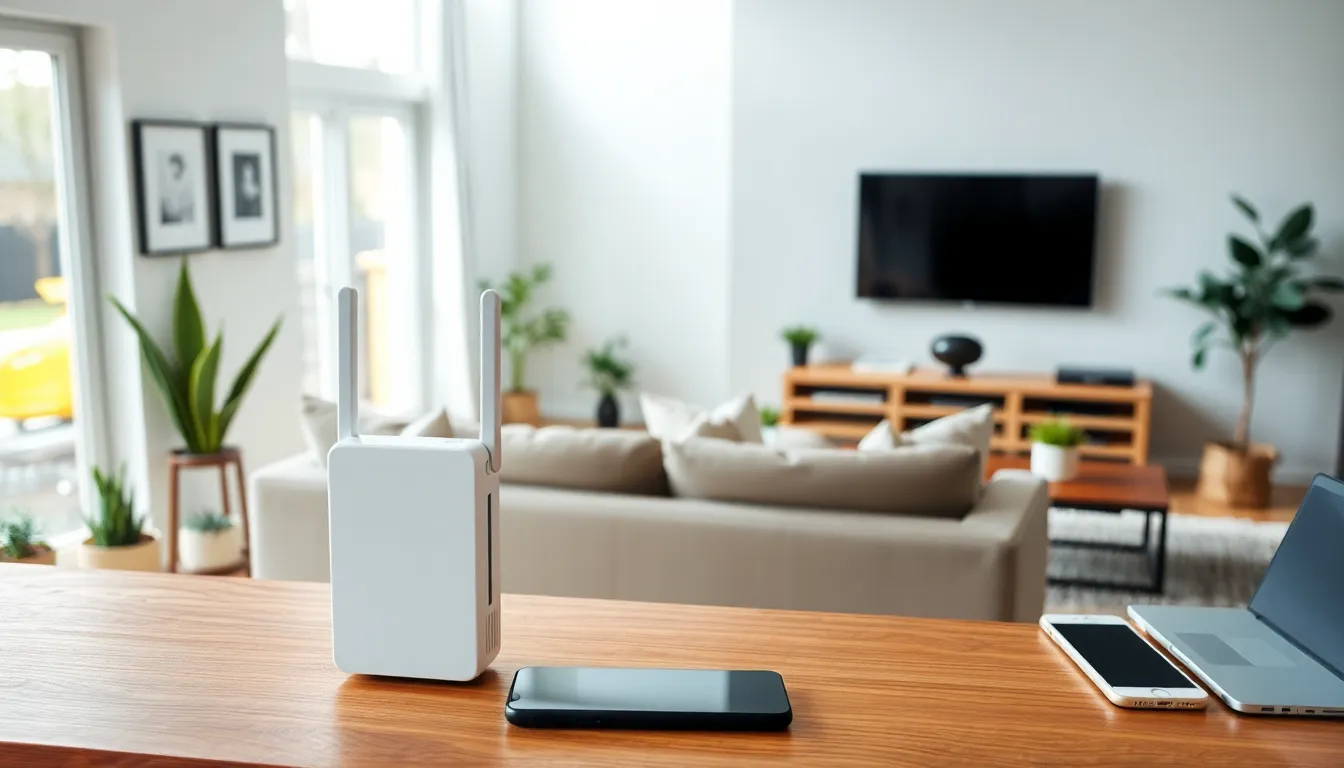
Picture this: You’re lounging on your couch, ready to stream your favorite show, and then it happens, buffering. Frustrating, right? If your home WiFi signal is throwing a temper tantrum, a WiFi extender may just be the superhero you need. It’s simple to install, and trust me, no one’s getting a PhD in networking to figure this out. Ready to eliminate those dead zones? Let’s immerse and make your internet the best it can be.
How To Install Wifi Extender

Wifi extenders are like stretchers for your WiFi signal. They grab your router’s signal, amplify it, and send it out further into your home. Imagine your WiFi is a singer belting out a high note, but only being heard in the first two rows. A wifi extender sells tickets to the back of the theater. It achieves this by receiving the existing WiFi signal and rebroadcasting it, so eliminating dead zones that make streaming or browsing a real pain. Simply put, if there are areas in your home where you can’t seem to get a decent connection, a WiFi extender is your best friend.
Benefits of Using a Wifi Extender
Why should anyone spend money on a wifi extender? For starters, they’re affordable and relatively easy to install. No technical degree is required here. The primary benefit is improved coverage. That means less frustration when trying to connect all your devices. Consider this: You could be streaming in the basement while the kids are gaming upstairs. A strong signal makes for happy households. Also, WiFi extenders offer reliability. A consistent connection leads to better performance whether you’re working from home, enjoying movie nights, or having online meetings. Plus, many modern extenders come equipped with multiple features such as dual-band compatibility, allowing them to handle multiple devices without becoming a tortoise. And let’s not forget that most extenders are small, compact devices. They can easily blend in with your home décor, so no need to worry about unsightly tech gadgets taking over your carefully arranged living space.
Choosing the Right Wifi Extender
Selecting the right wifi extender is akin to finding the perfect partner, it can make or break your connection. Before diving into a purchase, consider several factors. First, look at the size of your home. A two-story house may require a more powerful extender compared to a small apartment. Next, consider the specifications of your existing router. Compatibility is key: some extenders work better with certain router brands. Look for models that support both 2.4GHz and 5GHz bands. This dual-band capacity allows for more efficient connection options since 2.4GHz covers longer distances while 5GHz offers a faster speed over shorter distances. Also, pay attention to the range and speed ratings provided by manufacturers. These give insights into the efficacy of different models. Customer reviews provide additional information, allowing you to learn from the experiences of actual users. Eventually, your needs should guide your choice, whether you’re a gamer, a binge-watcher, or simply someone wanting to scroll through social media glitch-free.
Step-by-Step Guide to Installing a Wifi Extender
Now, let’s get it set up. Follow these straightforward steps for an efficient installation.
Configuring Your Wifi Extender
- Unbox Your Extender: Remove the extender from the packaging, along with any included instructions. Having the setup guide handy makes this process even smoother.
- Find the Right Spot: Place the extender somewhere between your router and the area with weak signal coverage. Ideally, it should be within range of your router’s signal. Too far, and you won’t catch anything: too close, and it won’t help extend the coverage.
- Plug It In: Power the device on by plugging it into an outlet. You’ll see LED indicators that will guide you through the setup process.
- Connect to Your Network: Using a smartphone, tablet, or computer, connect to the extender’s temporary WiFi network. Check your device’s instructions for the default network name (SSID).
- Access the Setup: Open a web browser and enter the IP address mentioned in the extender’s manual. This will bring you to the setup page. Follow the on-screen instructions to connect the extender to your existing WiFi network.
- Finalize and Test: Once connected, the extender will restart. After that, you can check your WiFi connection in previously weak zones.
- Positioning: If needed, adjust your extender’s position for optimal performance based on the signal strength reported by the extender’s LED indicators.
Testing Your Connection
After installation, the real question emerges: does it work? To test the connection strength, begin with your smartphone or a laptop. Move to the areas in your home where connectivity used to falter. Perform speed tests using reliable apps or websites to measure whether you’re receiving the expected speeds. If it’s not hitting the speeds you anticipated, consider repositioning your extender. Sometimes just a few feet can make a significant impact. Make sure to test it during peak usage hours as well to see if it holds up when everyone is online.
Troubleshooting Common Issues
Even the best-laid plans can go awry. If you encounter issues with your WiFi extender, don’t panic. Here are some common problems and their solutions. First, ensure that the extender is still receiving a strong signal from the router. If it’s not, try relocating it closer. Restarting both the extender and your router can also solve connection hiccups. Also, check for firmware updates either through the manufacturer’s website or via the setup app. Sometimes the simplest fixes make all the difference. If all else fails, resetting the extender to factory settings may be necessary. It’s not drastic: sometimes a fresh start is all an extender needs.

